|
Jason MI Gouki |
Lighting position I'm just setting up my own photography studio for shooting still products which I sell on my online store. I would appreciate if anyone could offer me the right advice on how to position my photoflood fill lights. I had put them directly beside the subject but someone told me they should be placed 45 degrees (front) to the subject instead. What should be the right locations ? Thanks and would appreciate the advice or any input.
|
|||||||||||||
|
|
||||||||||||||
|
Marius Liebenberg |
Have you tried using a light tent?
|
|||||||||||||
|
|
||||||||||||||
|
Jason MI Gouki |
I couldn't use a light tent because my subjects are very large to fit into the tent. I have seen tents and they are easier to control the lighting but my subjects are music amplifiers and speakers. What do you recommend ?
|
|||||||||||||
|
|
||||||||||||||
|
Andy |
Main light 45 degree to the subject and fill light in front. Hope this helps.
|
|||||||||||||
|
|
||||||||||||||
|
Alan N. Marcus |
Hi Jason, A light tent yields nearly shadow free lighting. Bounce lighting from white ceiling and walls can also yield shadow free lighting. A ring light is often used for small objects. Shadow free works for some objects but fails to give an illusion of depth. Depth perception in a photograph is generated by well placed shadows. First a main or modeling light is placed high and off to the side. This placement replicates afternoon sun. Shadows generated give the illusion of depth but they are generally too dark unless filled. Next a fill lamp is placed close to the camera lens. You are filling shadows as seen by the camera. The idea is to soften shadows so detail in shadow areas is preserved. Most scenes look best when illumined by only one lamp. Thus the fill is kept subordinate to the main. Generally the fill is adjusted so light from the fill arrive at the subject one f/stop reduced in power, as compared to the main. If main and fill are the same wattage, the fill is placed further away from the subject, and one f/stop reduction is achieved my measuring main to subject distance and multiplying this measurement by 1.4. The product is the distance needed to achieve a pleasant 3:1 lighting ratio. Some products are enhanced by higher contrast lighting. To achieve, assumes both lamps are equal in wattage, multiply main to subject distance by 2. Placing the fill 2 times further back yields a 5:1 ratio with dense shadows. Background lighting is desirable. Carefully place additional lights so they only illuminate the background. Intensity of background lights controls background shade and can be adjusted to yield and shade white thru black. Sometimes a kicker light is needed to break up subject from background. This lamp is placed behind the subject and aimed from the rear, back at the subject. Placed off to the side at medium height, it lights only the subject’s edges, as seen from the camera’s viewpoint and serves to provide separation, background – subject. Alan Marcus
|
|||||||||||||
|
|
||||||||||||||
|
Jason MI Gouki |
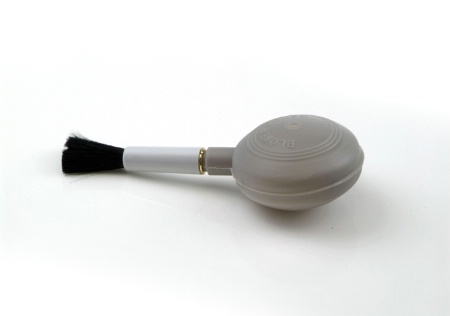
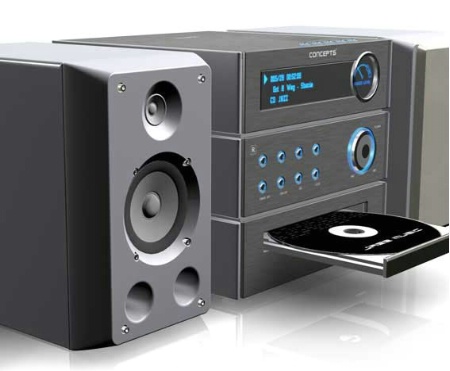
Thanks for your detailed advice, I'm going to try to get some of those lightings and hope I'll be able to not spend too much right now as I'm just starting up. I have 1 more question: can you advise me what kind of floor/board that produces the kind of white reflection effect of the product and where I can get it ? I have seen professional pictures of products with this kind of reflection, for eg. cell phones, gadgets, appliances. It looks like a faded mirror reflection but it's white. I've been trying out boards like white acrylic panels, but they dont produce those kind of clear reflection for my subject. Can you enlighten me on this ? I've attached an example of the kind of white reflection I would like to produce and an eg.of what I could obly produce on my tries using a white acrylic panel. Thanks.
|
|||||||||||||
|
|
||||||||||||||
- Gregory LaGrange Contact Gregory LaGrange Gregory LaGrange's Gallery |
Might be clear acrylic over white paper. Low shooting angle.
|
|||||||||||||
|
|
||||||||||||||
|
John H. Siskin |
Hi Jason, Since your products are too large for a tent, you should consider a light panel. Check out the article I have here at BetterPhoto about building the panels: http://www.betterphoto.com/article.php?id=156 Thanks, John Siskin
|
|||||||||||||
|
|
||||||||||||||
| Log in to respond or ask your own question. | ||||||||||||||